

Establishing a truss design process that progresses seamlessly from start to finish serves as a critical backbone for efficiency and ensures essential quality control measures. While individual processes might vary from designer to designer, here is a sample step-by-step process.
Resist The Urge
The quote has been accepted and it’s time to produce a final truss design. Before digging into the plans and randomly adding walls, planes, and trusses, carefully consider the methods used to produce truss designs. Resist the urge to jump into the program too early. A thorough review of the job plans/specifications is crucial.
Here are some simple categories and notes for each phase.
Scope Of Work
Review the scope of work1 compared to the quote to gain an understanding of all the areas requiring trusses, blocking trusses, bent metal, outlooker framing, truss bracing design, truss-to-bearing connection design, etc. Carefully assessing the quote can provide clarity and serve as a double-check for items missed in the quoting process. It can also help identify any discrepancies during the final design process.
Plan Review / RFI Questions
Start a complete plan review. This includes examining the architectural, structural, mechanical, electrical, kitchen, fire safety, or any other section of the plans that may impact truss design. In reviewing these plans, note any missing information so issues can be addressed early in the design process.
The building’s general geometry can be found in both the architectural and structural plans. Information regarding truss loading typically resides in the structural plans, with some obscure loading requirements in the mechanicals, electricals, kitchen, or fire safety plans. Truss loading information typically exists in the structural plan general notes, roof framing layouts, building sections, and individual details. Identifying discrepancies between sections of the various plans before designing begins saves time and prevents costly mistakes.
Since building plans contain so many pages, it is important to spend time reviewing the plans and determining the proper course of action. This thorough review always pays off.
Here are some examples to look for that can impact the truss design. Every job is different and will have other items that can affect the trusses, so be on the lookout for anything that could be required of the trusses.
- The applicable Building Code and any referenced standards
- Standard job loading information (e.g., live loads, dead loads, wind loads, snow loads, seismic loads, blast loads)
- Truss heel height
- Overhang / cantilever length
- Mechanical unit size, or weight
- Drag truss loads
- Fire sprinklers
- Fall restraint loads
Also, review the Job Specification before starting truss design. Find and review the roof truss section thoroughly. Specifically, identify and review:
- Minimum gauge or grade requirements
- Galvanization requirements
- Truss deflection requirements
- Referenced standards
During the plan/specification review, identify any questions that require answers. Develop the initial Request for Information (RFI). Securing as much information as early as possible allows the job to proceed more quickly. One of several professionals on the building design team will typically provide the RFI responses.
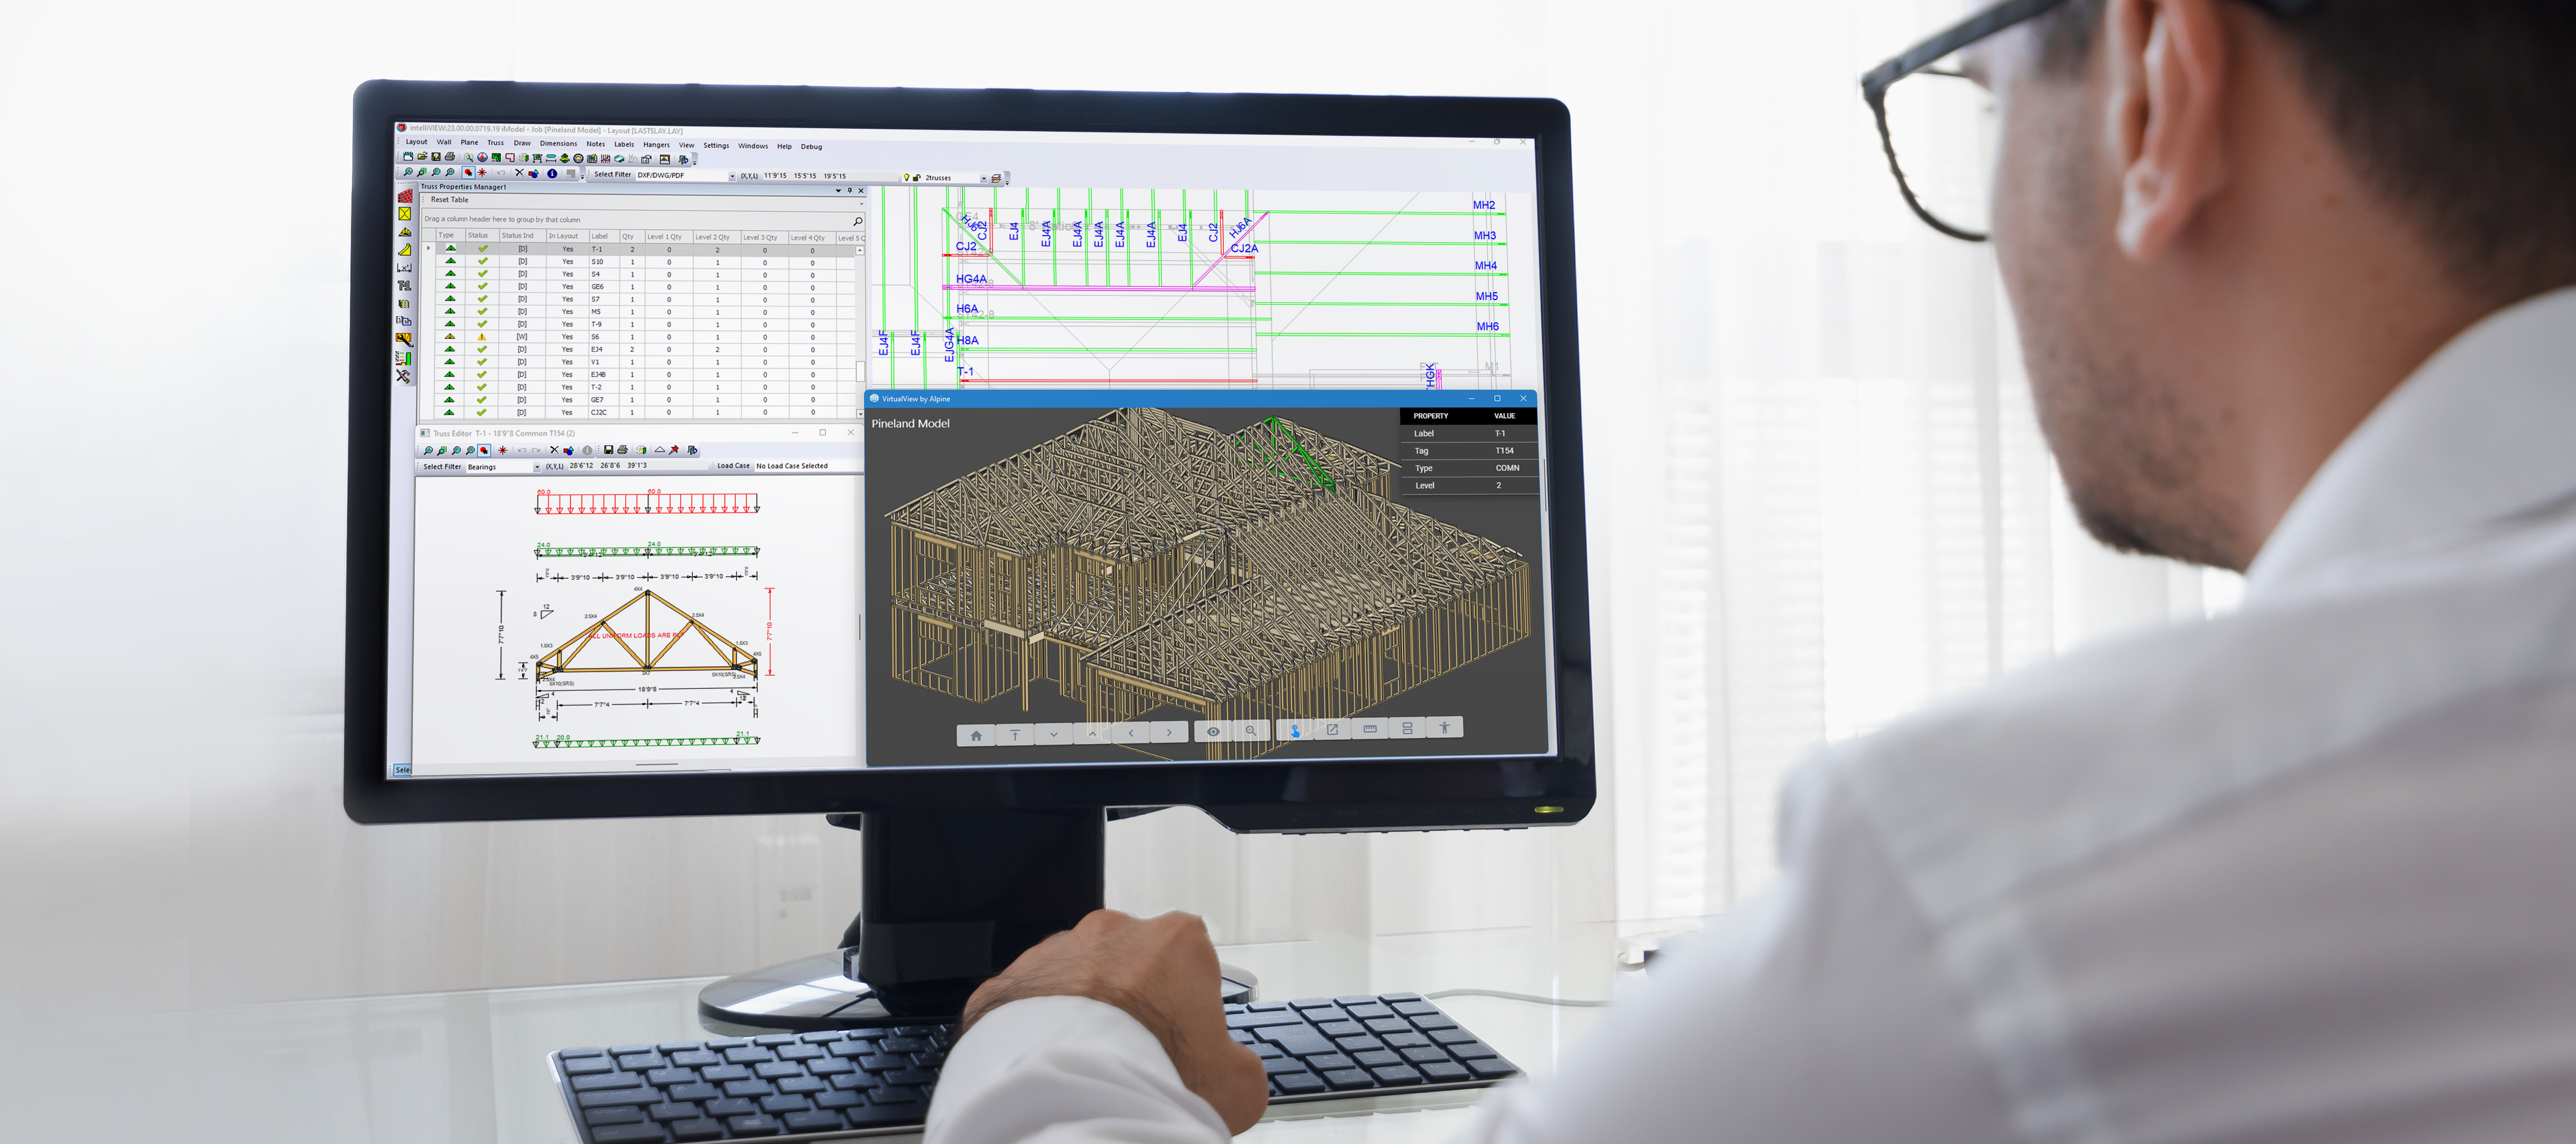
iModel – Truss Layout
After reviewing and receiving answers from the RFI, begin the design work.
Job Settings: Input all the standard job loading, wind loads, snow loads, and establish the rest of the job settings.
Gridlines: Most projects have gridlines. Inputting these first makes the wall input easier. Compare the architectural and structural gridlines to ensure they match. If they don’t, add these questions to the RFI.
Bearing Input: Add walls and beams to build the model. Carefully compare the architectural and structural plans to ensure the wall input is correct, including wall location, height, and thickness.
Roof / Ceiling Plane Input: Add all the roof planes and ceiling planes to the model to build the roof. If any questions arise that were not asked in the initial RFI, ask these in a separate RFI.
Truss Input: Once bearings and planes are complete, add trusses to the layout. Vigilantly follow the plans to add trusses where specified.
Miscellaneous: Input any other layout information needed, such as truss labels, mechanical ducts or HVAC units, layout notes, fire sprinkler locations, fall arrest locations, and dimensions.
iDesign – Designing Trusses
Once truss layout is complete, start designing the trusses. In this phase, account for anything that may impact the truss design like HVAC units, duct work, sprinkler pipes, additional loads, or other factors that could affect the truss geometry or design.
Review the Design
Rechecking the design – and having a coworker check it too – can eliminate mistakes before they reach the customer, the truss shop, or the jobsite. Thoroughly review the design, including all layout features such as bearings, planes, trusses, dimensions, truss quantities, or other items that might impact the job..
Following this simple process can help the truss design phase proceed smoothly and efficiently. Starting with a solid understanding of what is needed and capturing the right information plays a key role in accurate truss design. Following a good design process and being meticulous during the initial review pays big dividends.
- Portions of the Scope of Work are geared towards the specifics of designing with Alpine® TrusSteel, but the overall concepts outlined are suitable for wood and steel designers. ↩︎